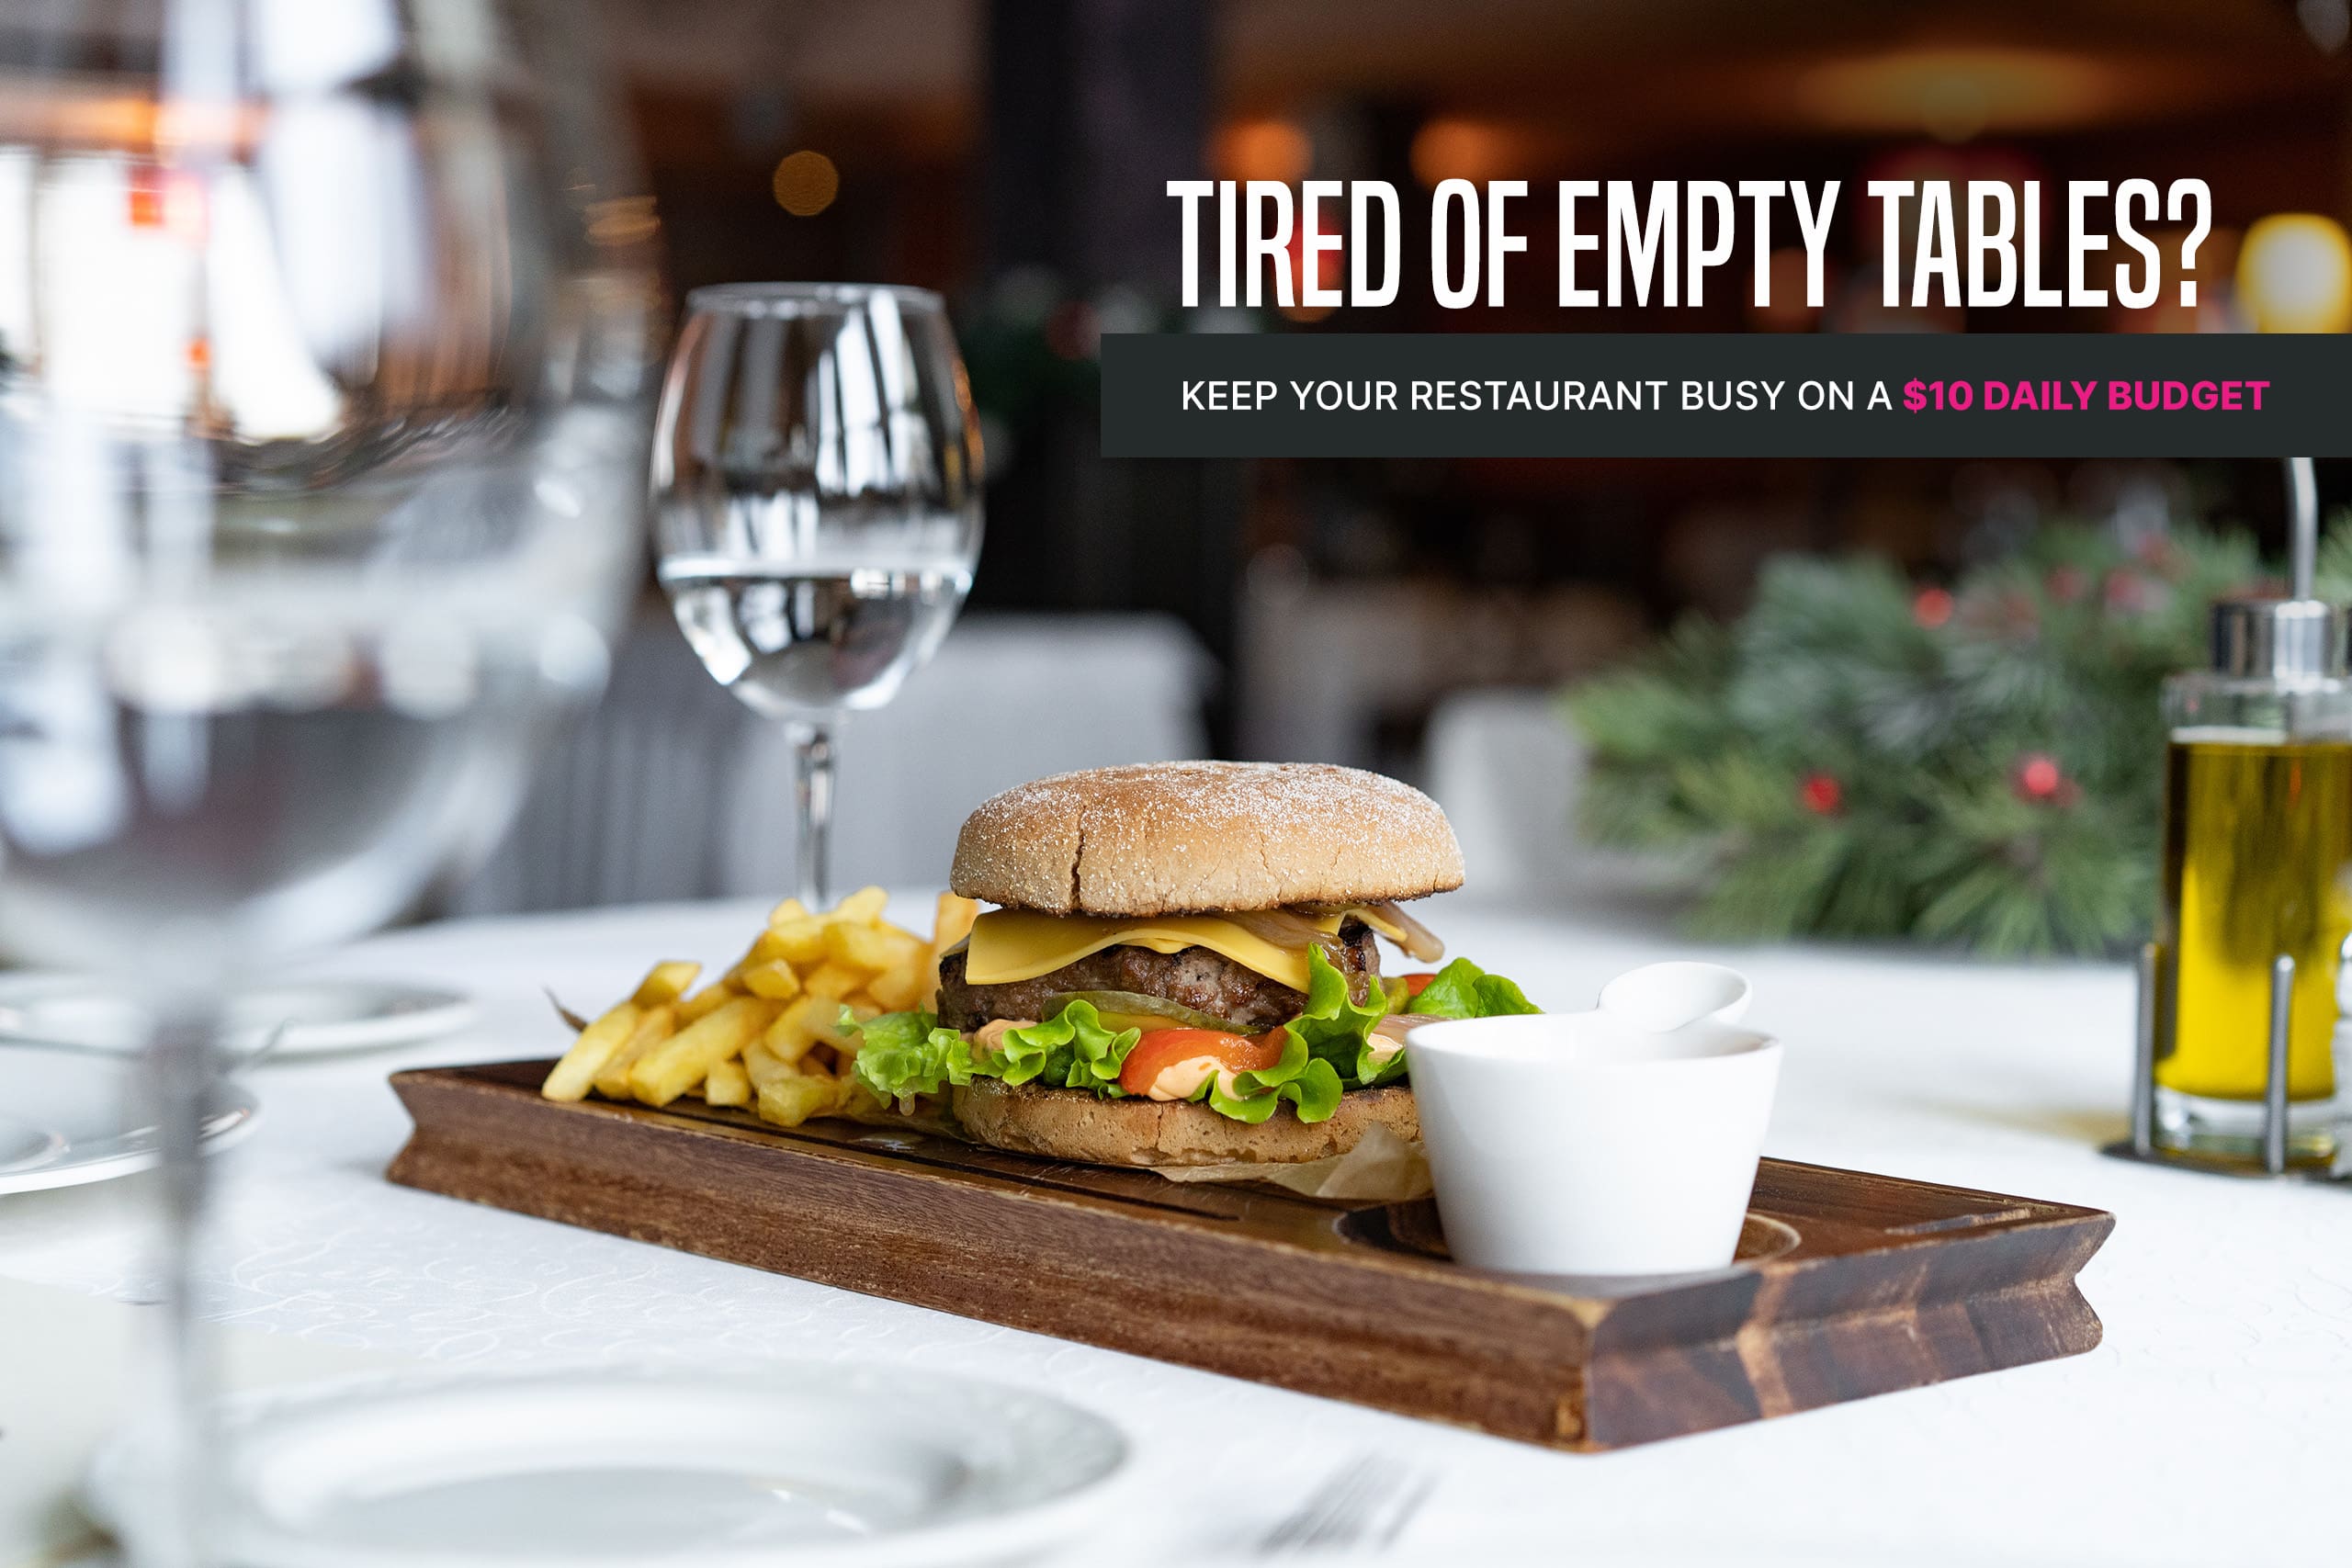
In today’s competitive restaurant industry, mastering the art of digital marketing is more than just a necessity—it’s a game changer. Addressing common challenges like slow business and low foot traffic doesn’t have to break the bank. With a strategic approach to your website, social media, and email marketing, you can significantly enhance your restaurant’s visibility and sales on a budget as tight as $10 per day. The plan we have outlined below is guaranteed to increase your restaurant sales in as little as 30 days. We would add “or your money back”, but we provided this no-nonsense action list for FREE so, let’s just say you have everything to gain!
- Your website should also feature your updated menus with current offerings and appealing photos to attract customers.
- Highlighting special promotions, events, and discounts on the homepage can draw interest and encourage visits.
- By incorporating positive customer reviews and testimonials your restaurant can build trust and attract new patrons.
- Additionally, clearly displayed contact information and integrated social media links encourages engagement and helps spread the word about the restaurant.
Here’s how to turn modest investments into substantial returns.
An Updated Website for Maximum Impact – Cost FREE!
Because the assumption is that you should already have a website especially in today’s very digital purchasing era.
Because the assumption is that you should already have a website especially in today’s very digital purchasing era.
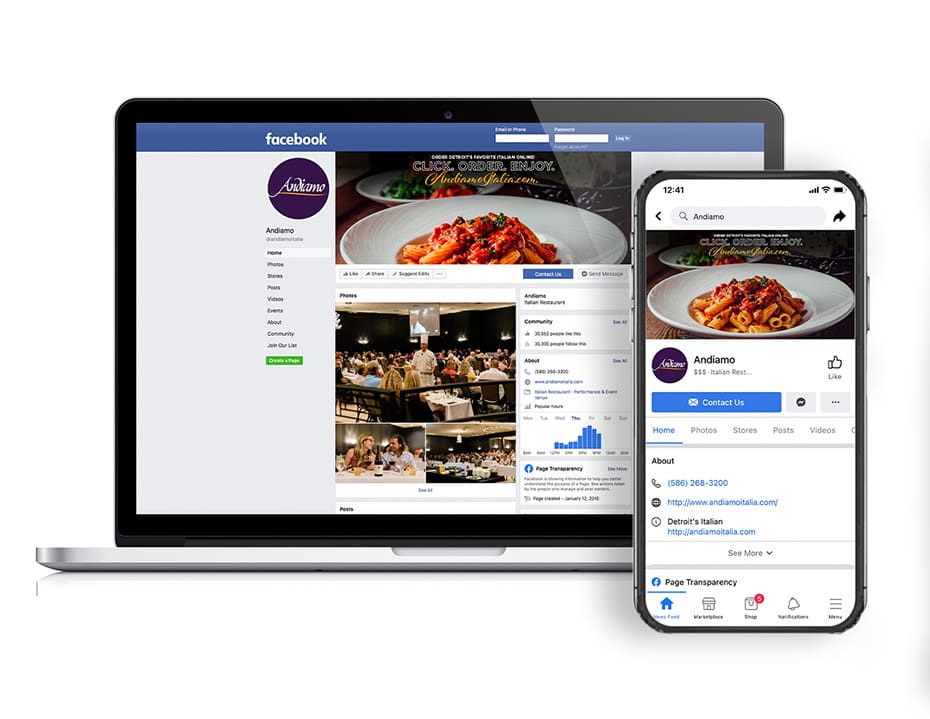
In an era where smartphones are ubiquitous, a website that is mobile-optimized website is essential. Ensure your site is responsive and easy to navigate on mobile devices to keep potential diners from bouncing off your page. You want to meet your guests where they are – on their mobile phones. PERIOD. Online Ordering Integration is also another simple but often overlooked way to increase the customer experience, increase customer orders, and increase your AOV “average order value”. By integrating an online ordering system directly on your homepage, this makes it simply and convenient for guests to order when they choose with the least amount of friction, and it typically also increases the likelihood of impulse buys.
Strategic Social Media Marketing and Advertising – Cost $5 per day

The goal is to have daily posts that keep your audience engaged and informed. Please be sure to mix up your content with promotional offers, engaging stories about your staff or the creation of your dishes (think behind the scenes), and posts that celebrate your community or your involvement in the community. Utilize both Instagram and Facebook to connect with your audience. Share daily specials, host live sessions via IG live of your kitchen behind-the-scenes, or feature customer reviews and photos. Then post any video or live to your stories – Instagram Stories is one of the most underrated social tools for restaurants. So, USE It! These platforms are perfect for visual content that tells your restaurant’s story in a compelling way. Now, this is where the $5 comes in, to increase your reach and engagement after you’ve covered your base, you will allocate $5 of your daily budget to run targeted ads on social media. Focus these ads on promoting your most profitable dishes or exclusive offers, targeting them towards your local demographics (i.e. people who live within 1-3 miles of your restaurant’s physical address) to maximize impact.
BONUS: Here’s a step-by-step guide on how to set up these ads for $5 each day:
Step 1: Set Up a Facebook Business Manager Account (if you already have one then skip this step).
- Create a Business Manager: If you haven’t already, create a Facebook Business Manager account at Facebook Business Manager.
- Add Your Business Page: Link your restaurant’s Facebook Page to the Business Manager.
Step 2: Create an Ad Account (if you already have one then skip this step).
- Set Up an Ad Account: In Business Manager, go to “Accounts” and select “Ad Accounts.” Click “Add” and choose “Create a New Ad Account.”
- Configure Account Settings: Input your business details, including payment information.
Step 3: Link Your Instagram Account (if you’ve already done this, you’re well on your way, so just skip this step).
- Connect Instagram: Go to “Business Settings” in Business Manager, find “Instagram Accounts,” and click “Add.” Log in to your Instagram account to link it.
Step 4: Define Your Campaign
- Create a Campaign: In Business Manager, select “Campaigns,” then click “Create.” Choose an objective that aligns with your goals, such as “Traffic” (to drive visits to your website or online menu) or “Engagement” (to increase interactions with your post). Determine which goal is best for the content and focus of the restaurant. If you have a really engaging visual or video of your food, go engagement. Or, if you are trying to push online ordering because this already exists and you believe that the extra push would increase the utilization here, then choose “Traffic” and give the URL.
- Set Your Budget: Input $5 for your daily budget to control costs.
Step 5: Set Up the Ad Set
- Target Audience: Define your target audience based on location (e.g., within a certain radius of your restaurant – again, we suggest 1-3 miles to start), demographics, interests (such as local events, food, eating out, Italian food, burgers, pizza, and dining), and behaviors. Think about your restaurant – what is it known for? i.e. what type of food or what is your big seller.
- Placement: Choose “Automatic Placements” to allow Facebook to optimize placement across Facebook and Instagram or select “Manual Placements” and specifically choose Instagram, Facebook, or both. Do not select “Messenger”. We are only focusing on IG + FB.
- Schedule: Decide whether the ad should run continuously or within a set timeframe. So, your daily budget is $5 and you can choose to run it for 10 days, 15 days, 30 days, etc. Simply do the math and ensure the total budget reflects that.
Step 6: Choose Your Ad Creative
- Select Ad Format: Choose a format (e.g., single image, carousel, video) that best showcases your restaurant. For Instagram, visually appealing images or short videos work best. Whatever you select, ensure it is THE BEST representation of your restaurant and food. Guests dine with their eyes first, so you want to ensure it is going to stop someone from scrolling.
- Upload Media: Upload high-quality photos or videos of popular dishes, behind the scenes, a great patio with food and people buzzing, amazing cocktails, or your special offer.
- Craft Compelling Copy: Write engaging text that highlights what’s unique about your restaurant, includes a clear call to action like “Order now!” or “Visit us today!”, and mention any promotion.
- Add a Call-to-Action Button: Select a relevant CTA button like “Learn More,” “Book Now,” or “Order Online.”
Step 7: Launch the Ad
- Review Your Ad: Double-check all settings, the appearance of your ad, and the copy for accuracy.
- Submit for Review: Once ready, submit your ad. It will go through a review process and, once approved, will start running according to your schedule.
Step 8: Monitor and Optimize
- Track Performance: Use Facebook Ads Manager to monitor how your ads perform in terms of engagement, reach, clicks, and conversions.
- Make Adjustments: Based on the performance data, tweak your ads. This might include adjusting the audience, experimenting with different visuals or CTAs, or modifying the budget allocation between Facebook and Instagram.
By following these steps, you will be able to maximize the exposure of your restaurant to potential customers on both Facebook and Instagram. Keep a close eye on performance metrics and adjust your strategies as needed to optimize your results. But for the most part, this should be the majority of the work.
Effective Email Marketing Campaigns – Cost $0 per day

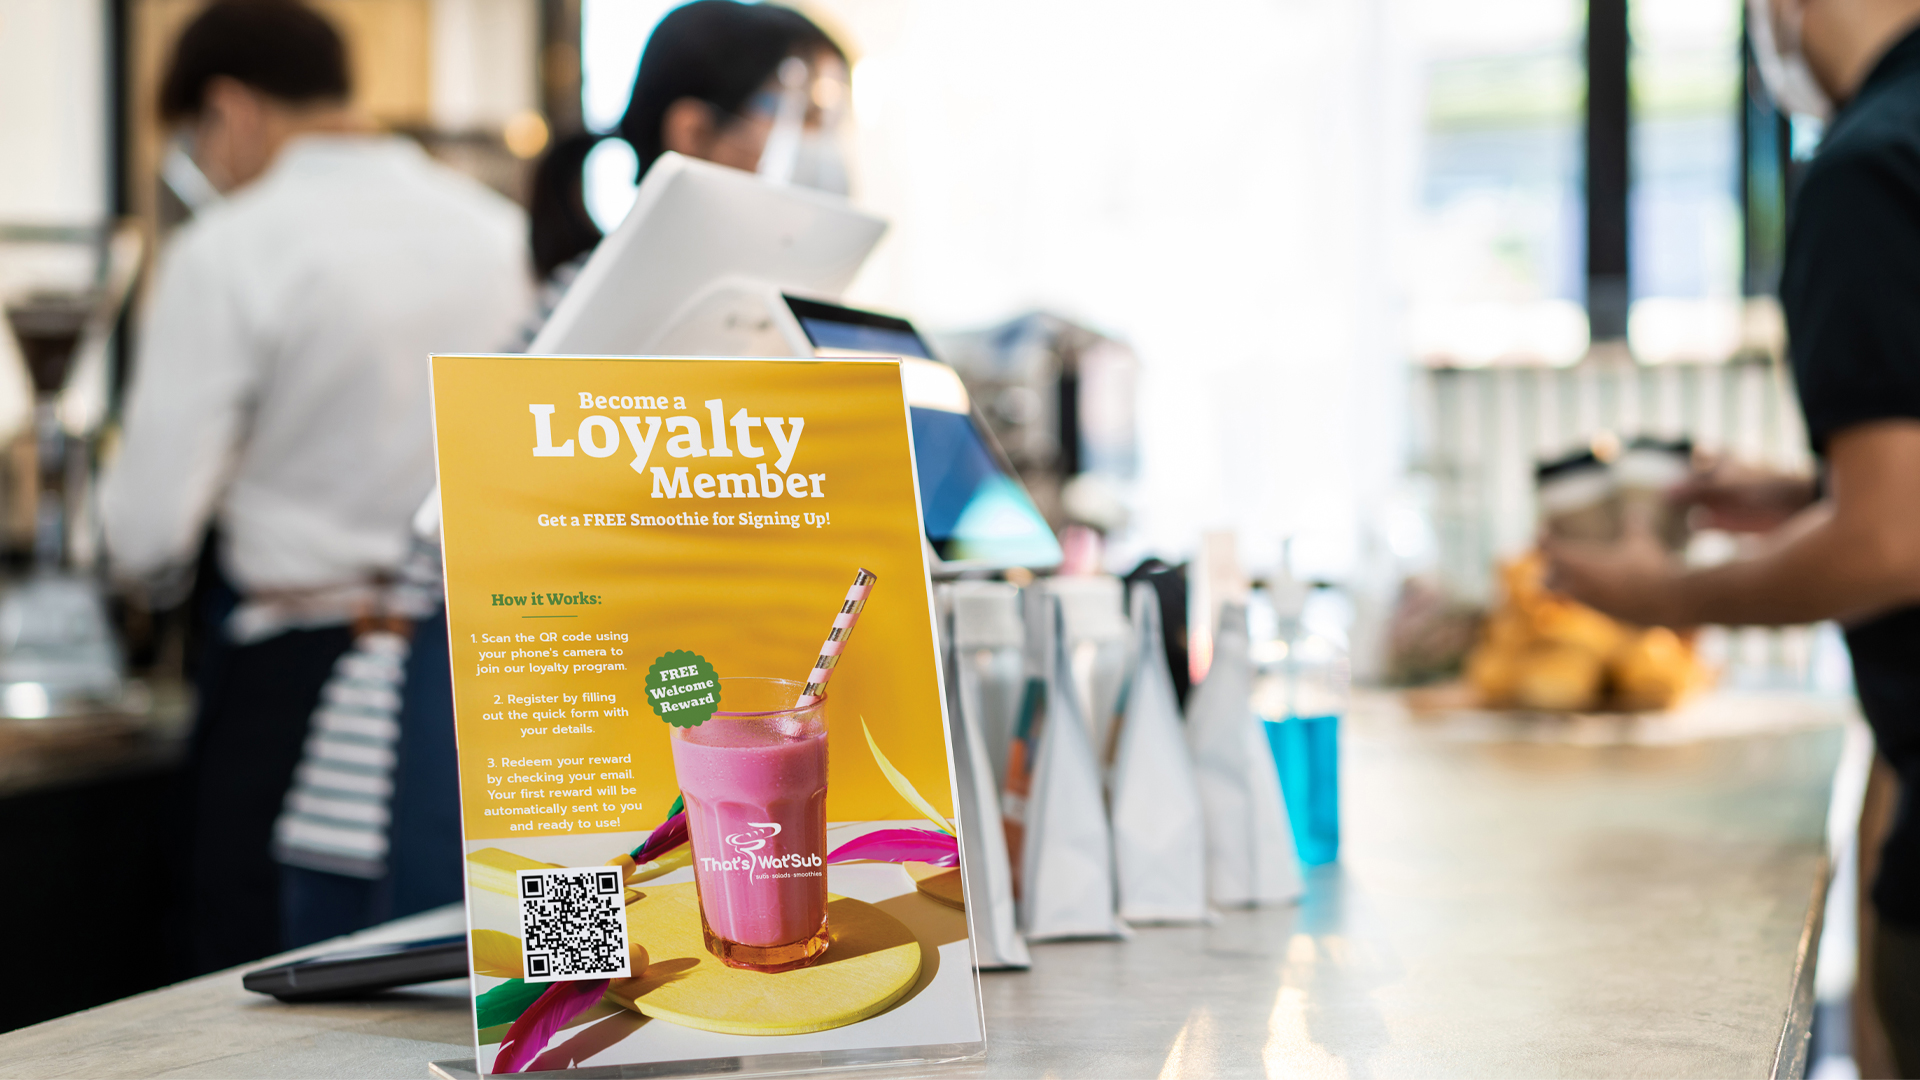
With email marketing, you can convert casual website visitors and social media fans into potential regulars by encouraging them to sign up for your email list. Offer an initial discount like a free appetizer or a free dessert as an incentive for signing up, which can also serve as a first step toward customer loyalty. Don’t skimp on the FREEBIE – consider this cost of acquisition the smallest cost you will ever have. In today’s highly competitive food space, this is normally a nominal cost of acquisition. But, once you acquire the customer, it is now your responsibility to keep your subscribers engaged with regular updates. For restaurants, you should be sending out a newsletter every week to share new menu items, upcoming events, behind the scenes content, or special promotions. Consistent communication keeps your restaurant top of mind – and this is KEY! Once you have your list, the next focus is Segmentation and Personalization. You can choose to take your email marketing further by segmenting your list based on customer behavior and preferences. Personalized emails resonate more with recipients, increasing the likelihood of them visiting your restaurant again. If this is too complicated, then is something that can be done over time.
BONUS: Here’s a step-by-step guide on how to send emails for FREE ($0) for the 30 days:
If you already have a POS system, you should be able to send emails directly from that platform. 90% of POS systems have this functionality already built in and already captures your data for you. Reach out to your POS provider and ask for a trial period to test this out if it is not already in your bundle. If it is already in your service bundle and not activated, then you’ve been sitting on a gold mine, and you know get to blast it out with little to no issues. If you are unfamiliar with using your emails that are in your POS system, talk with their support team and get them to provide a quick tutorial so you can be off to the races.
Alternatively, if you do not have a POS system that gives you this option, then you can setup and run email campaigns using an ESP or email service provider. For this article, we selected Constant Contact because of their built-in suite with SMS Marketing and that you get the first 30days for FREE on their trial period. With their included integration of SMS marketing, this can be a powerful way to engage with your customers.
Utilize SMS marketing to send instant updates and exclusive offers directly to your customers’ phones. With high open rates, SMS is an effective tool for time-sensitive promotions and can complement your email efforts. So, let’s get started with Constant Contact.
Step 1: Set Up Your Constant Contact Account
- Create an Account: Visit Constant Contact’s website and sign up for an account. Choose the plan that best fits your needs.
- Configure Your Account: Fill in the necessary business details, including your restaurant’s name and contact information.
Step 2: Build Your Email
- Import Contacts: If you already have an email list, you can import it into Constant Contact. Go to “Contacts,” then “Add Contacts,” and choose “Upload from file” to upload a CSV or Excel file.
Step 3: Create Your Email Campaign
- Choose a Template: Constant Contact offers a variety of customizable templates. Select one that suits your restaurant’s branding.
- Customize Your Email: Add your content, images, and logos. Make sure your email includes engaging information about your restaurant, such as special offers, menu updates, or upcoming events.
- Personalize Your Message: Use personalization features like inserting the recipient’s name to make your emails more engaging.
Step 4: Add SMS Marketing
- Check Availability: Constant Contact primarily focuses on email marketing, but they now offer SMS marketing, so definitely use this added feature to integrate with your marketing if you have your customers phone numbers as well. There are typically opt-in requirements that you must verify but once you’ve done this, then this should be a must add to your marketing.
- Set Up SMS Campaign: If available, you would typically set this up by creating a new campaign, selecting SMS as the type, and crafting your message. Make sure to comply with SMS marketing regulations, such as obtaining explicit consent to send SMS messages. Add an image and a short text message – since data rules will apply and it’s text, just get straight to the point here.
Step 5: Preview and Test Your Email/SMS
- Send a Test Email: Always send a test email to yourself and/or colleagues to check the email’s appearance and functionality across different devices and email clients.
- Make Adjustments: Based on the feedback, make any necessary adjustments to ensure everything looks perfect.
Step 6: Schedule or Send Your Email/SMS
- Schedule Your Email: If you want the email to go out at a specific date and time, use the scheduling feature to set this up.
- Send Immediately: If you prefer to send it out immediately, simply hit the “Send Now” button.
Step 7: Monitor Performance
- Check Reports: Constant Contact provides detailed reports on how your emails are performing, including open rates, click rates, and more.
- Adjust Based on Feedback: Use these insights to tweak future campaigns for better performance.
Step 8: Continue Building and Segmenting Your List
- List Management: Keep your contact list fresh and segmented, for example by customer preferences or behavior, to improve the relevance and effectiveness of your campaigns.
Google Local Search Ads – With a Budget of $5 Per Day
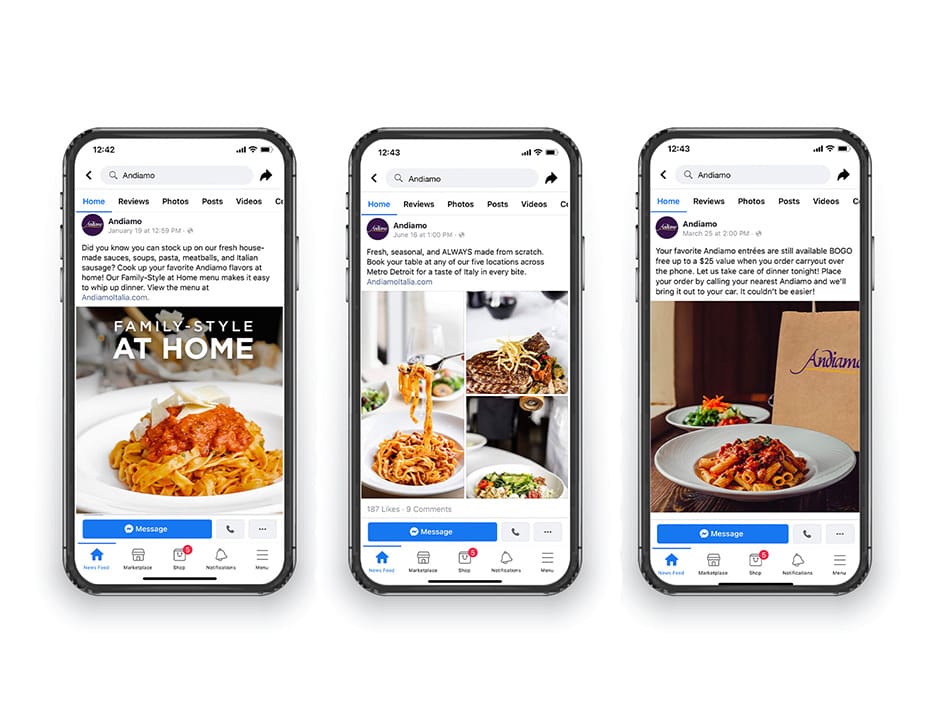
One effective way a restaurant can promote itself using just $5 per day, besides social media advertising, is through Google Ads, specifically using the Google Local Search ads.
Google Local Search ads allow restaurants to appear at the top of search results by Targeting Local Search Queries. When potential customers are searching for nearby dining options, this is particularly valuable as it targets users who have a high intent, such as those searching for “restaurants near me” or specific cuisine types in your area.
With a budget of $5 per day, you can set up a pay-per-click (PPC) campaign, where you only pay when someone clicks on your ad. This keeps costs predictable and manageable and still on your budget. Google Ads also allows for detailed budget control, so you can set maximum bids for clicks to ensure you don’t overspend. With Focused Ad Spend, you can focus your spending on specific times of day when people are most likely to be searching for meal options, like before lunch or dinner hours. This increases the chances that your ad spend goes to use at the most impactful times. Google Ads also provides tools to track how well your ads are performing in terms of clicks, impressions, and conversion to actual visits. Your conversions here can be phone calls, directions requested, website visits, or actual reservations if your restaurant handles reservations.
BONUS! Here’s a step-by-step guide to setup up your Google Local Search ad for your restaurant in a strategic way, so you can capture the attention of potential customers.
Step 1: Create a Google Ads Account (skip this step if you already have one).
- Create an Account: Visit Constant Contact’s website and sign up for an account. Choose the plan that best fits your needs.
- Configure Your Account: Fill in the necessary business details, including your restaurant’s name and contact information.
Step 2: Define Your Campaign
- Import Contacts: If you already have an email list, you can import it into Constant Contact. Go to “Contacts,” then “Add Contacts,” and choose “Upload from file” to upload a CSV or Excel file.
Step 3: Configure Your Campaign Settings
- Choose a Template: Constant Contact offers a variety of customizable templates. Select one that suits your restaurant’s branding.
- Customize Your Email: Add your content, images, and logos. Make sure your email includes engaging information about your restaurant, such as special offers, menu updates, or upcoming events.
- Personalize Your Message: Use personalization features like inserting the recipient’s name to make your emails more engaging.
Step 4: Create Your Ad Content
- Check Availability: Constant Contact primarily focuses on email marketing, but they now offer SMS marketing, so definitely use this added feature to integrate with your marketing if you have your customers phone numbers as well. There are typically opt-in requirements that you must verify but once you’ve done this, then this should be a must add to your marketing.
- Set Up SMS Campaign: If available, you would typically set this up by creating a new campaign, selecting SMS as the type, and crafting your message. Make sure to comply with SMS marketing regulations, such as obtaining explicit consent to send SMS messages. Add an image and a short text message – since data rules will apply and it’s text, just get straight to the point here.
Step 5: Add Your Business Location
- Send a Test Email: Always send a test email to yourself and/or colleagues to check the email’s appearance and functionality across different devices and email clients.
- Make Adjustments: Based on the feedback, make any necessary adjustments to ensure everything looks perfect.
Step 6: Review and Launch
- Schedule Your Email: If you want the email to go out at a specific date and time, use the scheduling feature to set this up.
- Send Immediately: If you prefer to send it out immediately, simply hit the “Send Now” button.
Step 7: Monitor and Optimize
- Check Reports: Constant Contact provides detailed reports on how your emails are performing, including open rates, click rates, and more.
- Adjust Based on Feedback: Use these insights to tweak future campaigns for better performance.
- Check Reports: Constant Contact provides detailed reports on how your emails are performing, including open rates, click rates, and more.
- Adjust Based on Feedback: Use these insights to tweak future campaigns for better performance.
By leveraging these budget-friendly strategies, you can absolutely transform your digital marketing efforts into a powerful tool that drives traffic to your restaurant and boosts sales. With consistent application and a bit of creativity, your $10 a day can indeed go a long way in making your restaurant a local hotspot. Want to try these strategies? We’d love to know what you did and how it worked! You’ll see the difference they make and watch as your foot traffic and revenue start climbing.